Pages

Showing posts with label painting demo. Show all posts

1/22/2019

"Seasons" series/ Process


Earlier this year I finished these four small paintings. It was a huge breakthrough because I spent so much time planning and figuring out technical details (process outlined below). More importantly, they represent an aesthetic I've been trying to figure out for some time, which recalls my love of fantasy inspired by illustrators in literature and history. All of these subjects have been deep influences on my interests throughout my life, yet I never quite knew how to channel it all.  

Below is my process. For those interested, feel free to ask any questions. I am happy to give more details if they help.


Seems like video is the best way to view these. 


****************************************************************
PROCESS

The first thing I did was work up some quick loose sketches in my sketchbook, then these studies below. 


Because I wanted my paintings to have gold and silver details, I needed to carefully consider the palette. I scanned the drawings and then played with color palettes in Photoshop before I actually painted them. I really liked a muted palette against the brightness of the gold and silver and went with it. 

I thought about making some custom black frames, but decided against it, at least for now.


***************************************************************
Because the drawings were scanned, all I needed to do was print them out to the correct size for the transfer. I transferred the drawings using saral graphite paper on to panels that I gessoed and sanded a few months before. 


The method of painting I use is called indirect oil painting. It is the oldest form of all the oil painting techniques developed by Dutch painters, sometimes also called the Flemish method. Indirect oil painting involves a few layers of underpainting in warm tones, which is called a grisaille. This first layer, the "open grisaille", is always really unattractive looking, but it is important to get some paint on the surface so that subsequent opaque layers can adhere to the panel. 


After the first open grisaille, I began the second grisaille, which uses white paint and is entirely opaque.


For all of these paintings, I designed the palette to be limited to a few custom mixes. 
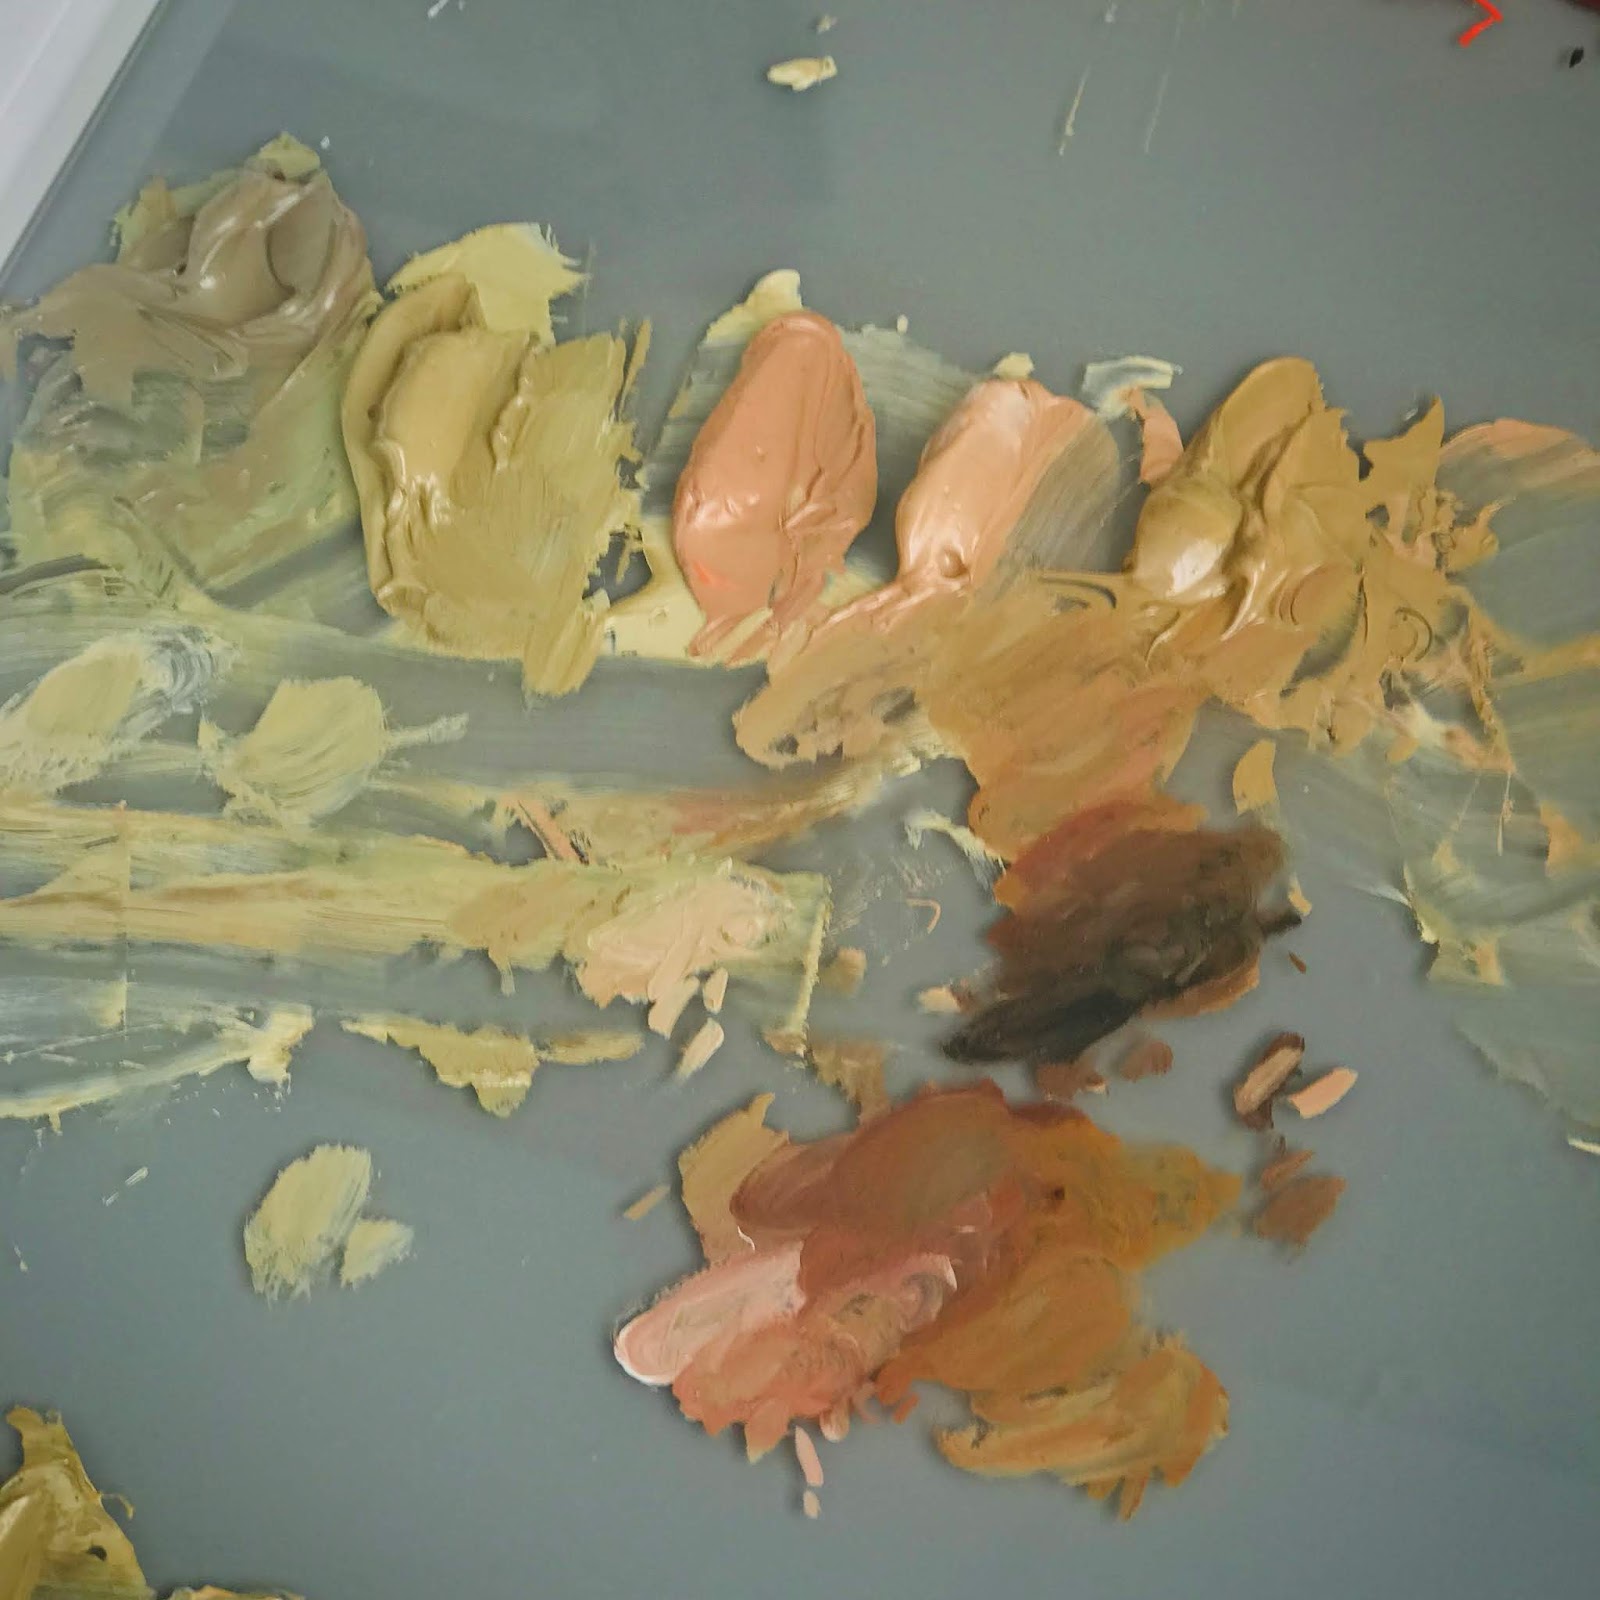

My limited palette comprised of mixtures I made from a typical palette of colors. 
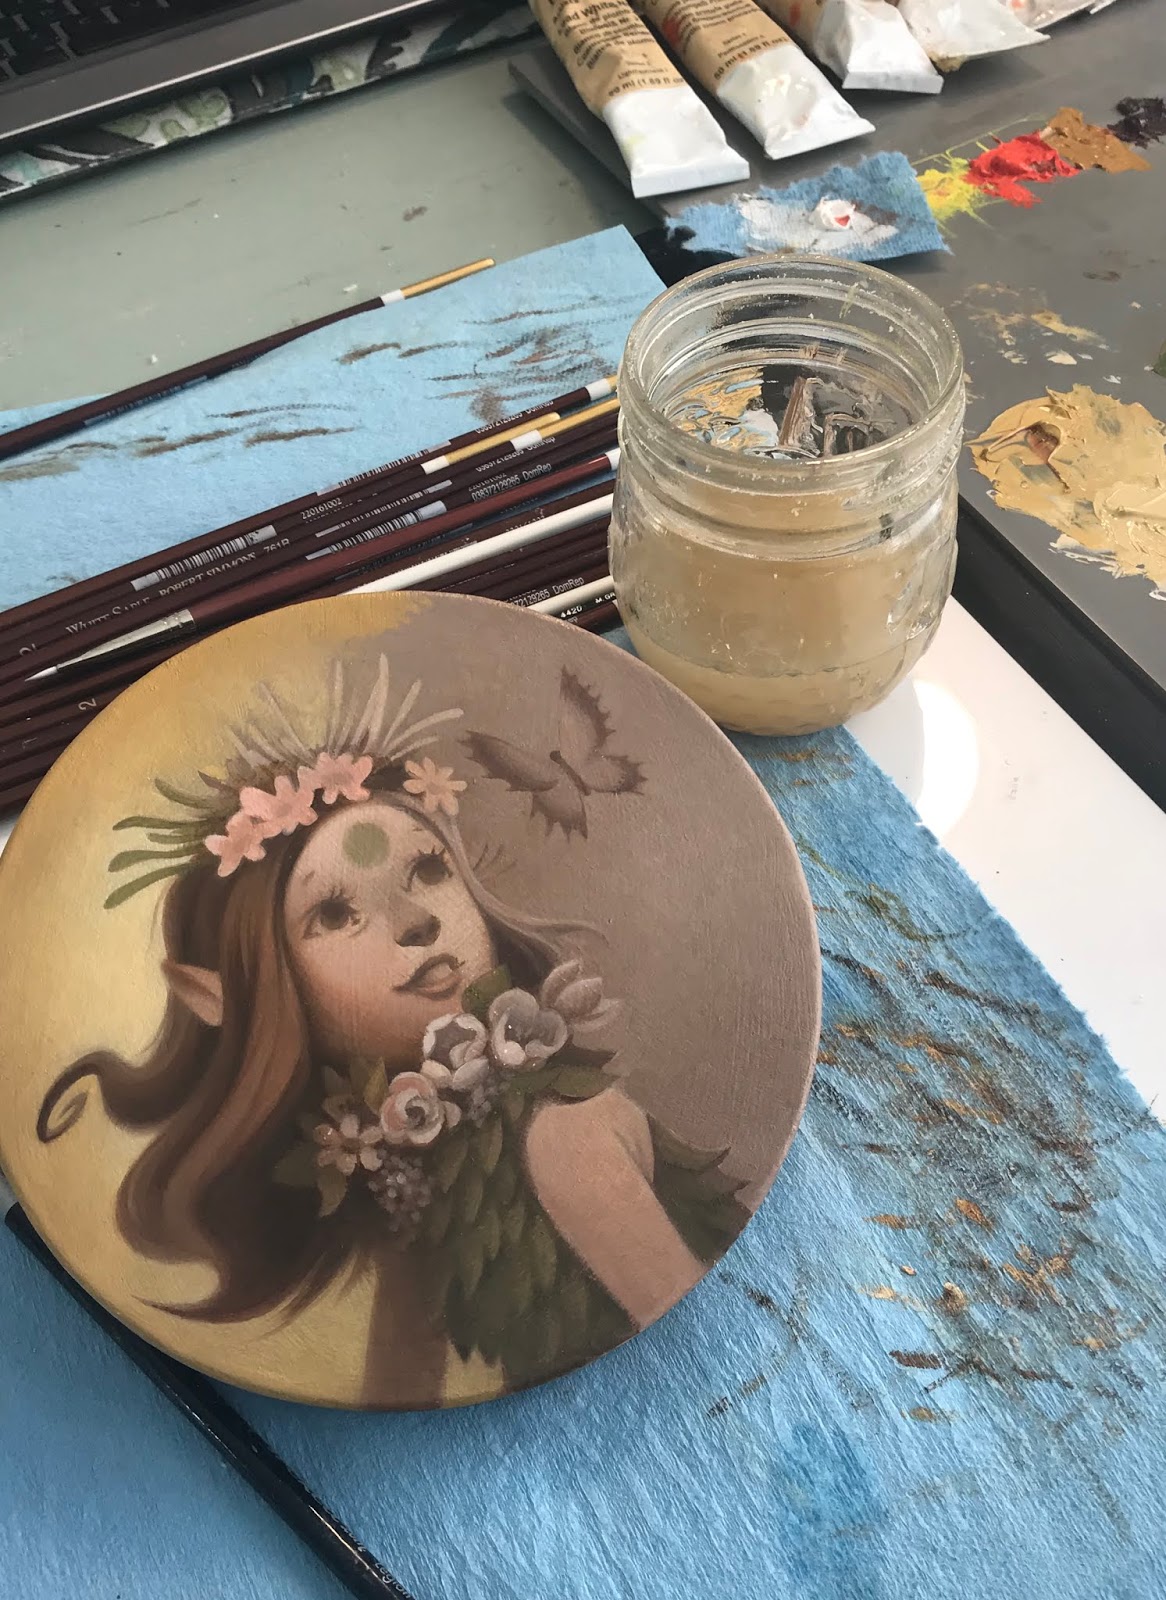

After coming up with the base color palette and marking down how I made the mixtures, I began the color glazing stage, following the color mock ups I did in Photoshop, which I have in front of my on my ipad at my desk. 

In regards to technique, glazing color on top is fairly easy, it is just takes a few layers in order to cover the underpainting underneath. I love this stage the most. It finally feels like everything is coming alive.


After they were finished, I used a matte varnish rather than a glossy varnish. I wanted to make sure the metal leaf details didn't compete with another shiny surface. 

And this is the part that took me literally months to figure out...gilding.

I had so many frustrating experiments on test surfaces that were not working the way I needed them to. Gilding on oil paintings, it turns out, is a little more involved than gilding on paper surfaces. I see a lot of artists using gilding in their work, but it is not at all easy when you want a specific design and are working with oil paint, which tends to want to grab the metal leaf, making brushing away the excess a nightmare.

I ended up taking a class with Lynn Rutter on gilding techniques. I am so glad I did. I learned a huge amount in information in two days that answered a lot of questions and provided important information about how to make sure that materials like oil paint and varnishes underneath the gilded surface interact well and archival for a long time. For all of the gilded details, I painted used twelve hour oil size and then used various metal leaf when the size was ready. Because some metal leaf tarnishes, I also learned about the importance of using shellac (and which kind) to create an isolation layer. 


These are the samples of gilded surfaces we learned about in Lynne Rutter's two day weekend class.


I used twelve hour size. Timing it is important, so you have to make sure your schedule is clear twelve hours later, otherwise the gilding window closes and you have to start all over again. The photo above is what it looks like while it's drying.

After that, brushing it off was fun, too, except that sometimes the edges weren't as crisp as I'd like them to be. I had to double leaf the details in some places. 


The finished piece.

Much more to come in 2019!
 If you've made it this far down the page - THANK YOU.

3/30/2015

Digital Sketching | Leveling Up my Tablet

For a while now I've been sketching around town using my iPad. I like using a tablet for sketching when I am in situations where I cannot bring my usual pastel kit or oil painting kit for plein air studies. The iPad is light weight, fits in my bag, and can be whipped out without questions or funny looks just about anywhere.

Sketching at the Art Institute of Chicago

Until now I've been making good use of my iPad. I use the Wacom Stylus 1 (not 2) and the fantastic Procreate app. My only on-going frustration was the sometimes lag of the stylus and inaccuracy of the pen tip, as well as brush sizes and other issues that have often felt like painting with a giant crayon that I don't have complete control over. 


Frankly, I have been frustrated with Apple's lack of support and indifference for third party vendors who make styluses to use with their sketching, writing and painting apps. (Having worked in mobile games I know quite well Apple has rigorous internal checks before any app can be launched in the App Store - so why not rigorous checks for 3rd party devices intended to use with their products?!!) Additionally, it seems, I've been waiting forever for Apple to upgrade the iPad to run OS X so that it can run Photoshop or Painter, and - dare I dream - have it's own digitizer stylus. The iPad is cool, I suppose, but a tablet that can actually run Adobe software and be brought along in a bag is powerful stuff. 


Jamie painting in Golden Gate Park

***********************************************************
 Here's The Skinny

Since about 2013, rumors have swirled around the internet about the secret development of the iPad Pro, which would run OS X and have a custom stylus. 

Most recently, rumors were that the iPad Pro would be announced this March, but the iWatch trumped that as Apple leaps into the wearables market. Still, rumors continue to swirl that the impending launch of the iPad Pro will be announced later this year, fall 2015. Still others are skeptical of a launch this year or even next. Ugh - I am tired of waiting. There are already several tablets on market available right now with a few being relatively inexpensive. Whenever the rumored iPad Pro does launch, one thing is certain, it will be an expensive version of the current iPads. Most likely more than I really want to spend for sketching around town. Even my plein air oil and pastel gear each came in around $500-$600 for the equipment.

Given my quest and budget, I identified what I'd like in a tablet and then set out to find one. 
I wanted these attributes:

between $300 - $600 max
light weight and slim
good battery life 
can run Photoshop
stylus with a thin and more precise tip, and good response with no lagging

Best Options:
Wacom's Cintiq Companion, $2000
Microsoft Surface Pro, starting at $800
Samsung Slate, a retired line which can be purchased new or refurbished around $450-550 on Amazon Marketplace. (I've seen it even cheaper on eBay and B&H Photo)


I know there are other tablets, but many of them get poor reviews, so I narrowed my choices down to the three listed above. After a lot of research & recommendations from friends, I opted for the Samsung Slate. 

**************************************************************

Samsung Slate 

Out of the box I spent an evening fumbling around the Windows 7 OS, which I am not accustomed to. After I watched the on-screen tutorial for a few minutes, I was able to navigate around the desktop with the excellent digitized stylus. After I connected to my wireless account and accessed the internet, Windows promptly updated. 

I was then able to load the Creative Cloud app at $10 a month to run Photoshop. Since the Slate also has a usb port, an older version of PS can be loaded if you prefer. 

While I was researching the tablet, I found a great plug-in for Photoshop that enables two handed use in order to use the hot keys without a keyboard. This plug in, Art Dock, is also customizable and can be configured for either right or left handed use. 

When loaded, Art Dock allows you to work with one hand using your stylus for painting/sketching/drawing while the other hand hits hot keys - a very nice workflow compared to the iPad/Procreate model, where the stylus alone must choose everything from brushes, layers, colors, brush size in addition to painting.

The link for the Art Dock plug in and instructions for left and right handed docking is HERE.


For saving art, you can, of course, keep your files on the desk top (not recommended), upload your files to Dropbox (or another cloud based service) or save everything on a thumb drive using the USB port. Incidentally, I found the cover on the USB port difficult to remove and ended up using a sharp knife tip to remove it. Seems to work just fine now.

I also like the size of the Samsung slate. It's longer than the iPad, closer to the 16:9 ratio, which I like for studies, especially when studying film shots. The tablet also comes with a Sim Card slot and a camera, though not capable of video. That's ok with me as I usually carry my iPhone or a camera with me that can record when I need to.


Side by Side size comparison


Because the on-screen keyboard is awkward to use, you can also get a bluetooth keyboard and also a docking station if you'd like to use it as a casual computer.  I haven't purchased either of these yet and probably won't since I don't plan to do a lot of typing on the machine other than saving files.

When I finally got down to painting I felt like I was in HEAVEN! Using the Art Dock plug in plus sketching directly on-screen using PHOTOSHOP and my own custom brushes (uploaded from Dropbox) felt like I had been liberated from all the clunkiness that I was trying my best to be patient with. Pressure sensitivity is not that of a full blown Cintiq, but frankly, it is good enough for me to complete this sketch, below, without any complaints, lag time, or inaccurate brush calibration. The only noticeable oddness was that the screen sometimes changed brightness when the light changed, but that was due to the extreme changes in brightness of the television screen that was also in the room. This might be an issue later; if it is I will surely update this post. 

A quick process video using Flipagram

The final piece. I worked in my bedroom at night in three 45 minute sessions was able to finish this sketch. 

I don't know what your needs are for tablet sketching, but you might want to consider these options. If you have a budget, the Cintiq Companion 2 looks amazing. If you are like me with a pretty limited budget (this was already a splurge!), you might want to look into a refurbished tablet or take the Microsoft tablet for a whirl. Whatever you choose, I hope you enjoy a new avenue for plein air sketching practice. Please leave comments if you have additional info, good or bad experiences or questions.

Thanks for reading!


2/21/2015

Year of the [Electric] Sheep

In 1968, Philip K. Dick wrote a groundbreaking book, “Do Androids Dream of Electric Sheep?”, which was later turned into the film, “Blade Runner”,directed by Ridley Scott. Perhaps the best (at least to me) science fiction film and story of all time. Douglass Trumbull designed all of the practical effects, a profound inspiration on science fiction film and myself all these years. In honor of Year of the Sheep, I did this speed paint.

An auspicious year. 


Year of the [ Electric ] Sheep. 

Enjoy.

Credits: Recorded with Camtasia Studio. Edited in iMovie. Painted in Photoshop CS 6. Initial base layer texture from Cgtextures.com. Custom brushes. Observational study of a sculpture I photographed in the Louvre in 2012, a marble vase originally in Versailles. Music by Vangelis, "Blade Runner".